Setting Up LINE Messaging API
Configuring LINE Messaging API to send transfer notifications via LINE for the Seed Confirm Pro plugin involves the following steps:
1. Install Plugin
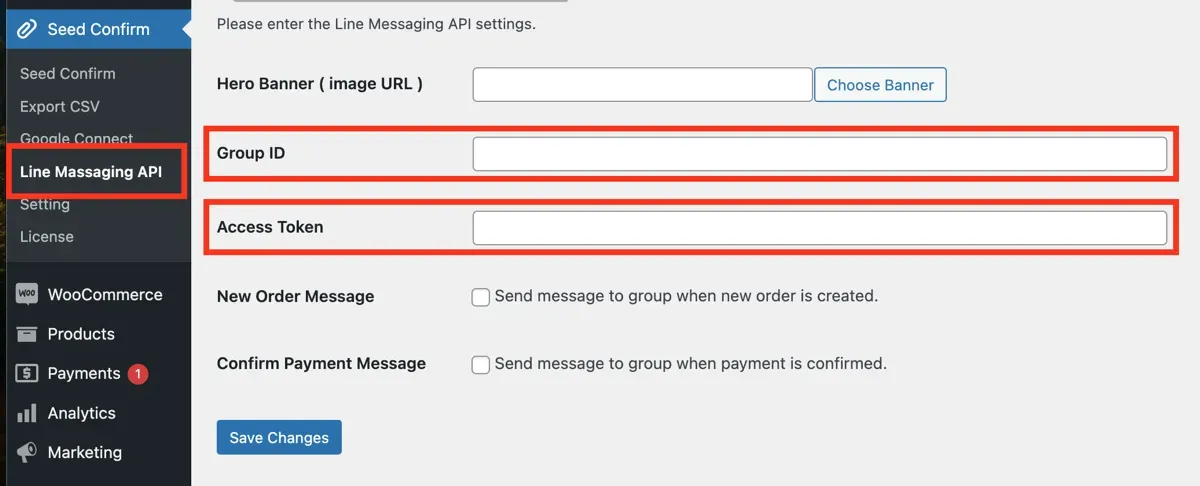
Section titled “1. Install Plugin”After installing the plugin, go to the LINE Messaging API menu.
The plugin requires two key values from LINE:
- Group ID
- Access Token
2. LINE Developers
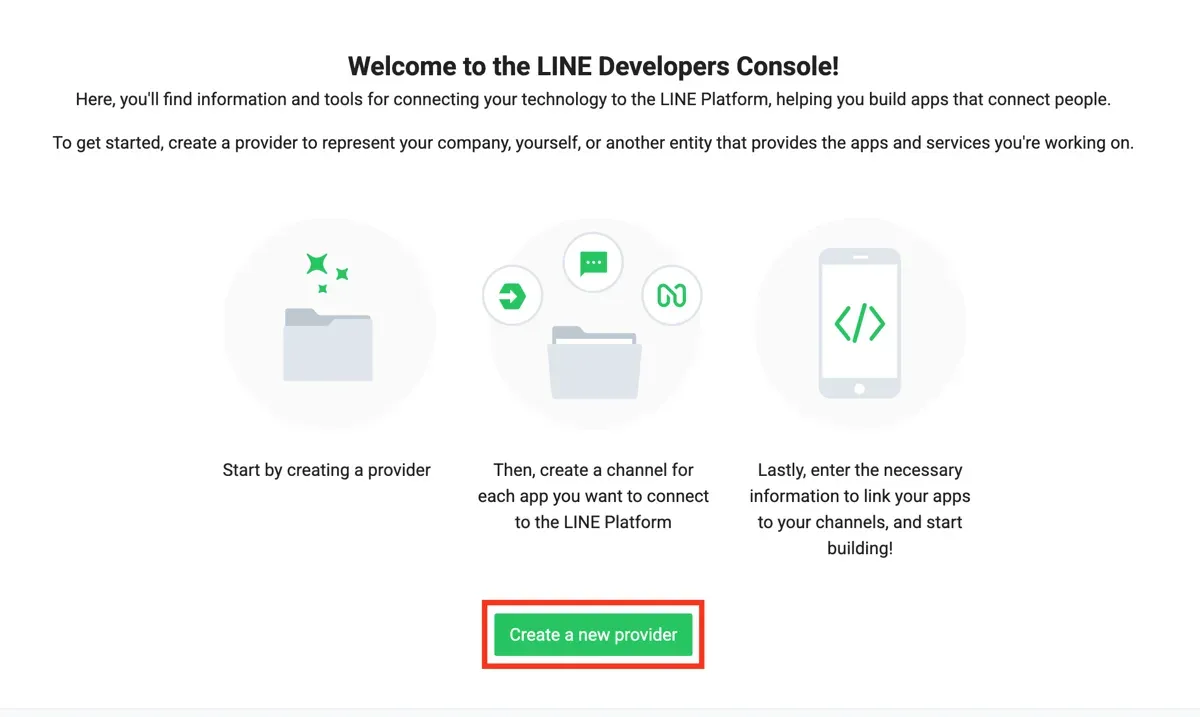
Section titled “2. LINE Developers”Go to LINE Developers at https://developers.line.biz/en/.
Log in and navigate to the Console.

3. Create a new provider
Section titled “3. Create a new provider”Click the Create a new provider button to create a provider.
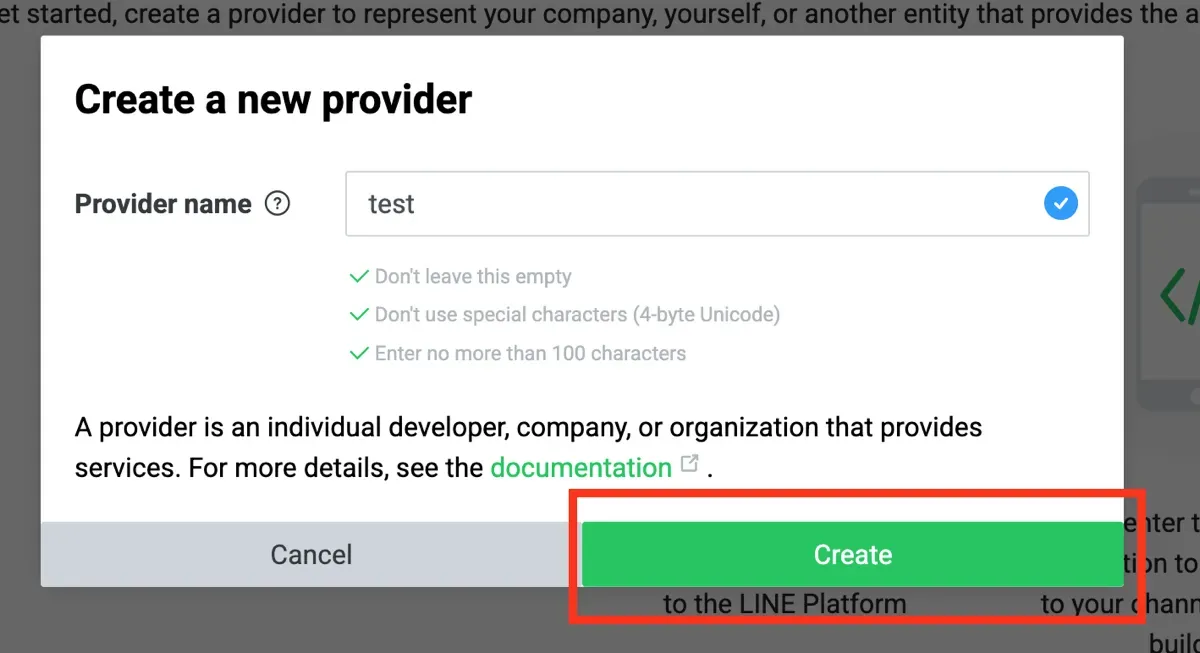
4. Provider Name
Section titled “4. Provider Name”Enter your desired Provider Name and click Create.
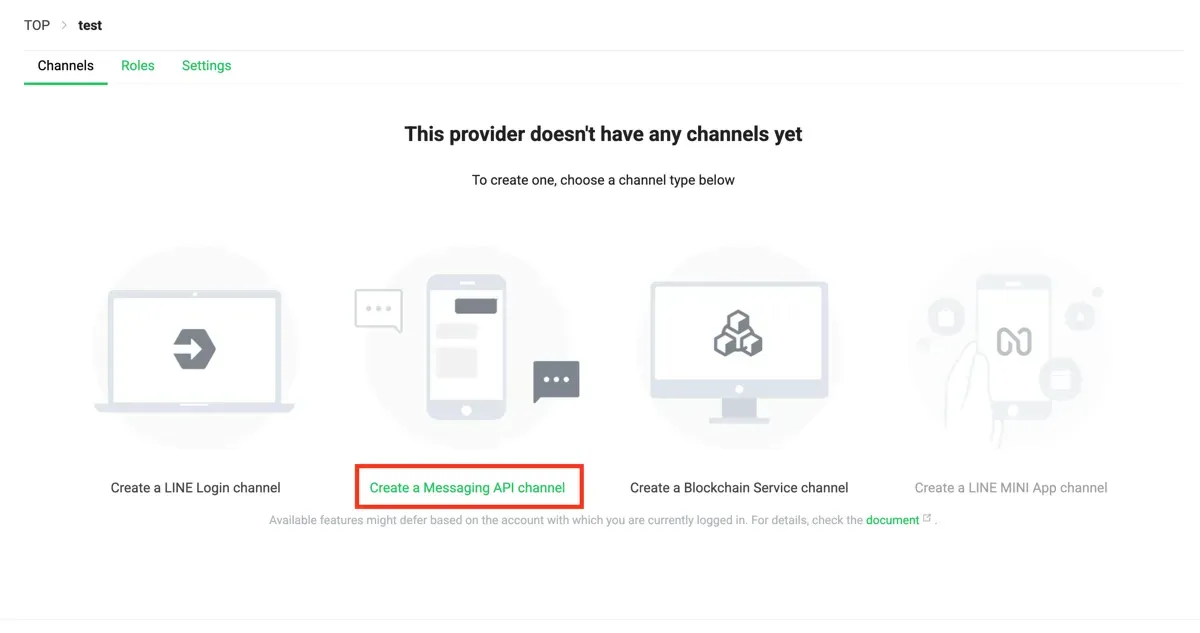
5. Create a Messaging API Channel
Section titled “5. Create a Messaging API Channel”Create a Messaging API channel.
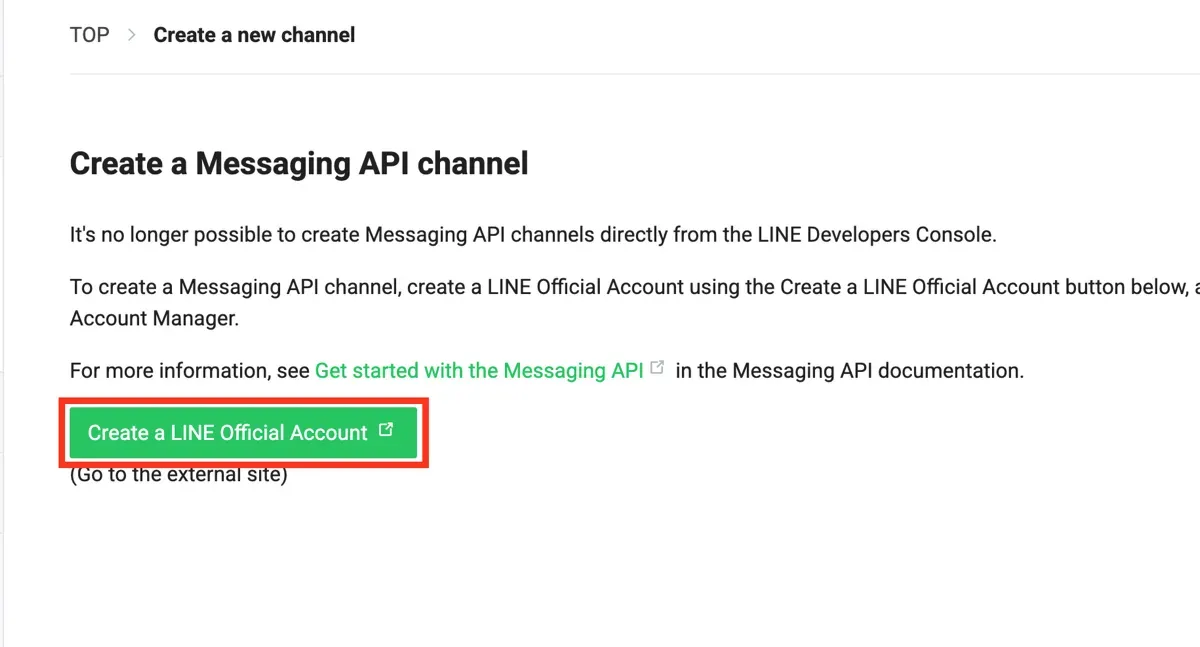
6. Create a LINE Official Account
Section titled “6. Create a LINE Official Account”Create a LINE Official Account.
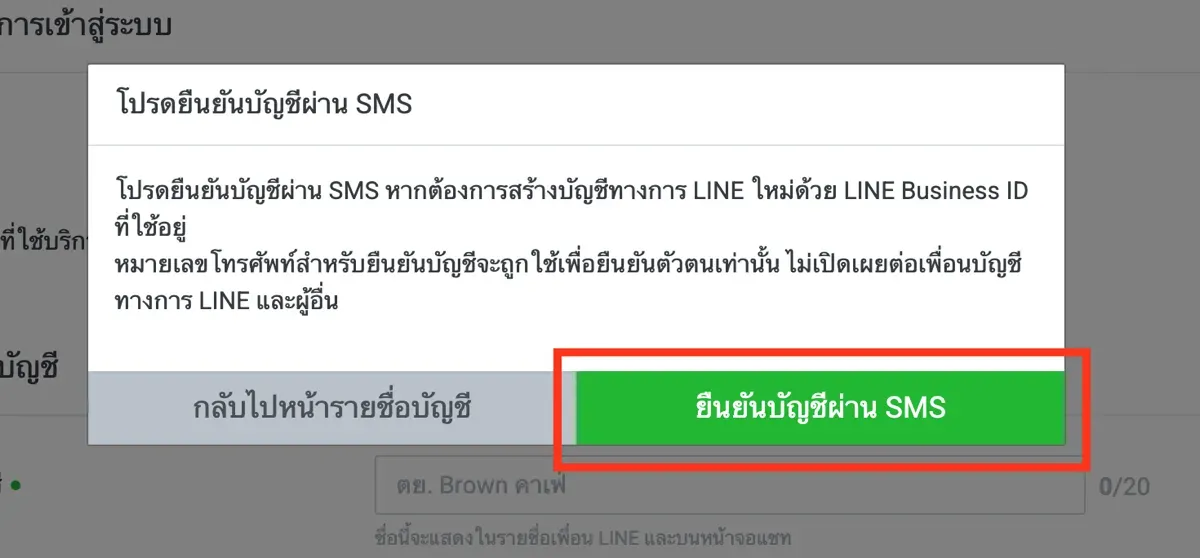
7. SMS Verification
Section titled “7. SMS Verification”Verify your account via SMS.
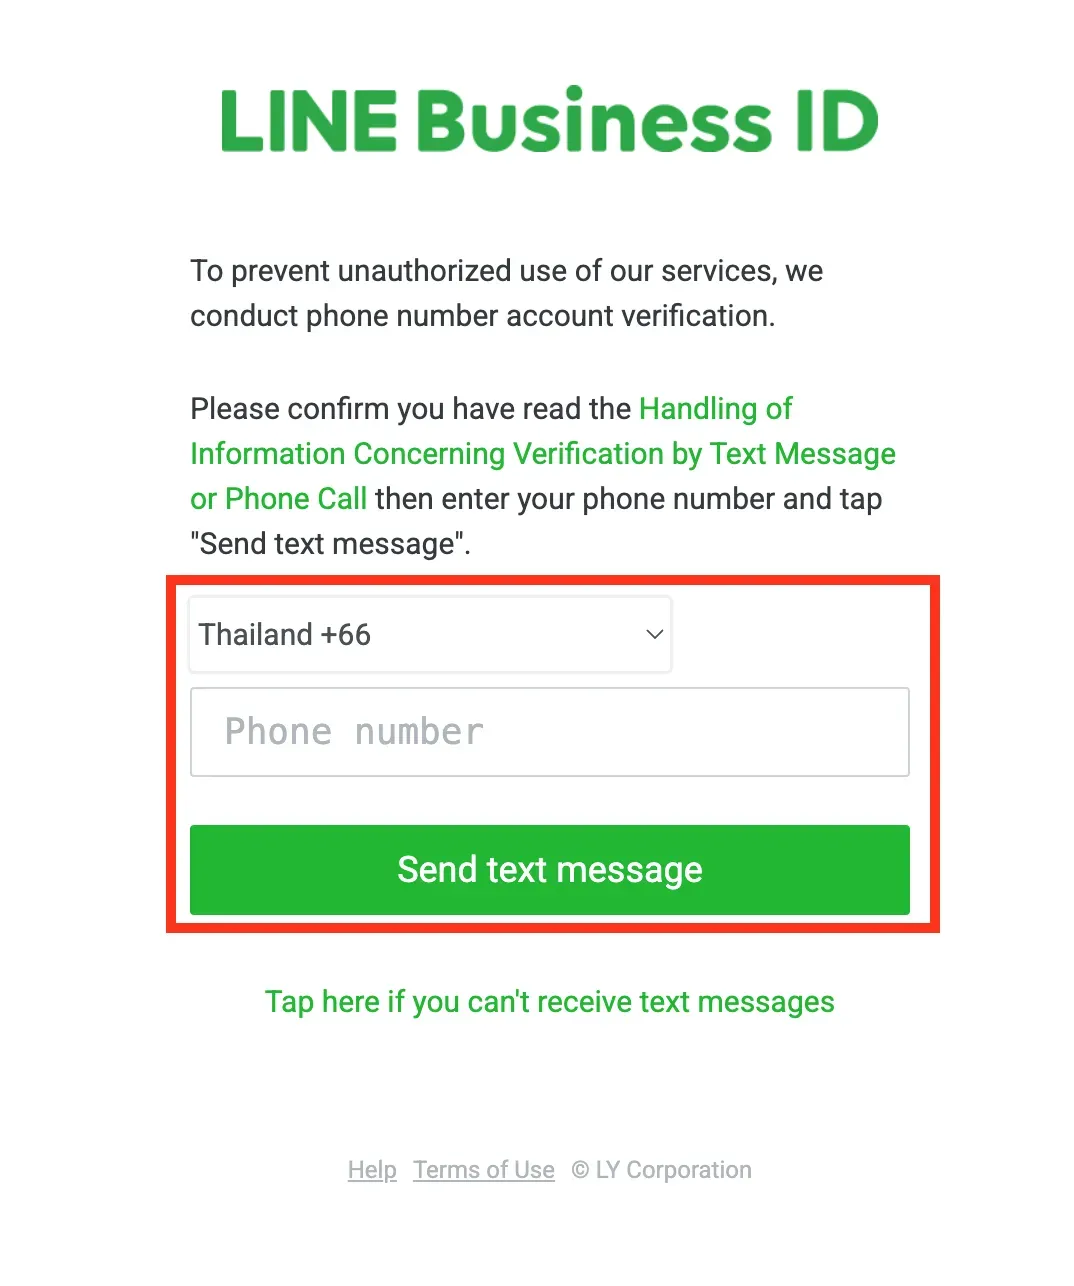
8. LINE Business ID
Section titled “8. LINE Business ID”Select Thailand, enter your phone number, and click Send text message.
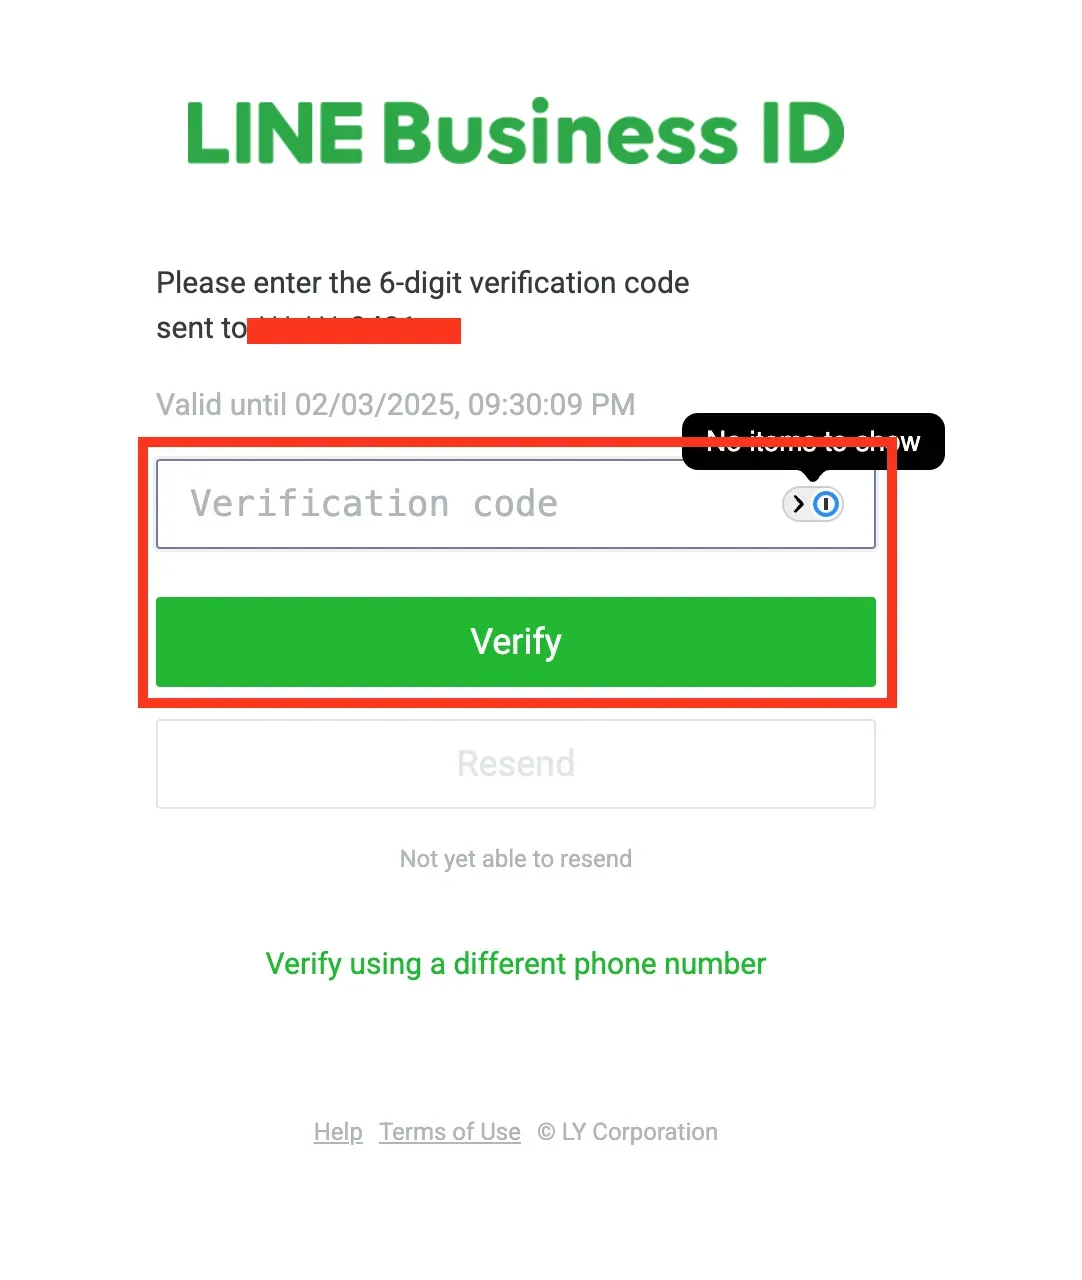
9. Verification Code
Section titled “9. Verification Code”Enter the verification code received via SMS and click Verify.
10. Go Back
Section titled “10. Go Back”Once verification is complete, click Go back.

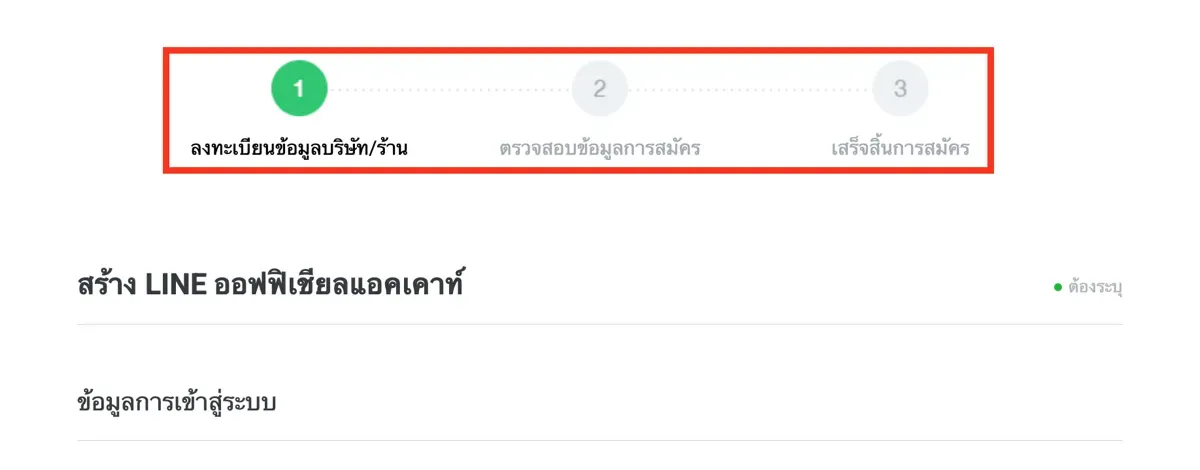
11. Register
Section titled “11. Register”Complete the registration process by filling in the required information.
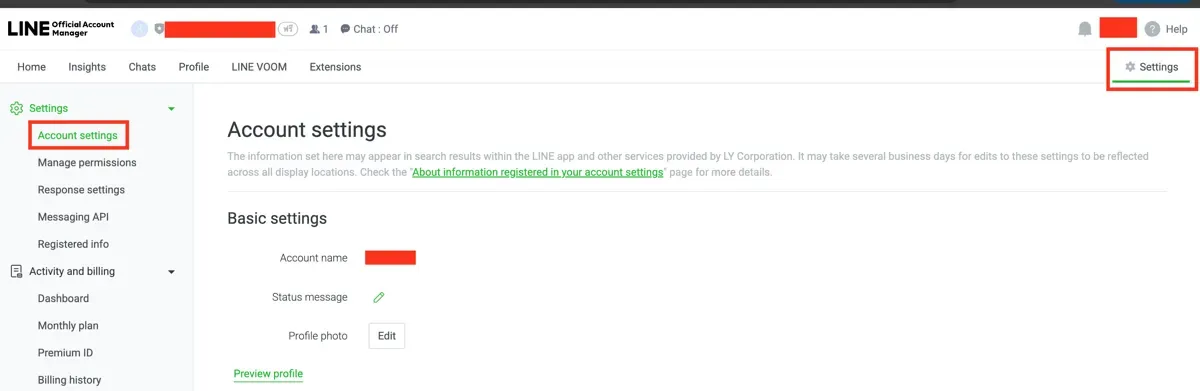
12. Settings
Section titled “12. Settings”Navigate to the Settings section as shown in the image.
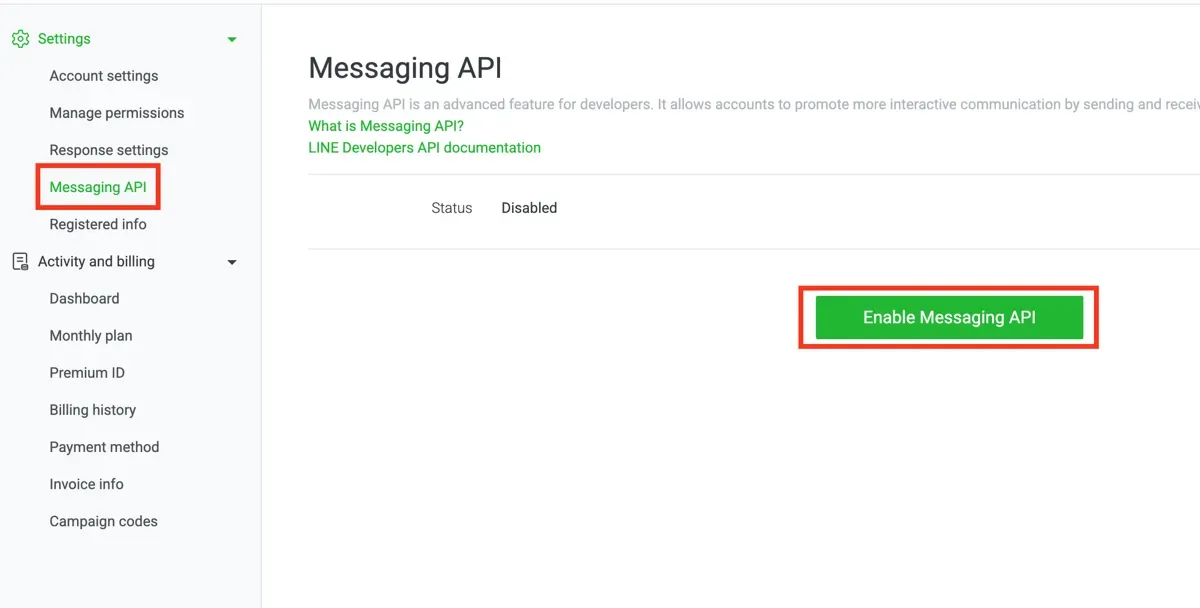
13. Enable Messaging API
Section titled “13. Enable Messaging API”Go to Messaging API and click Enable Messaging API.
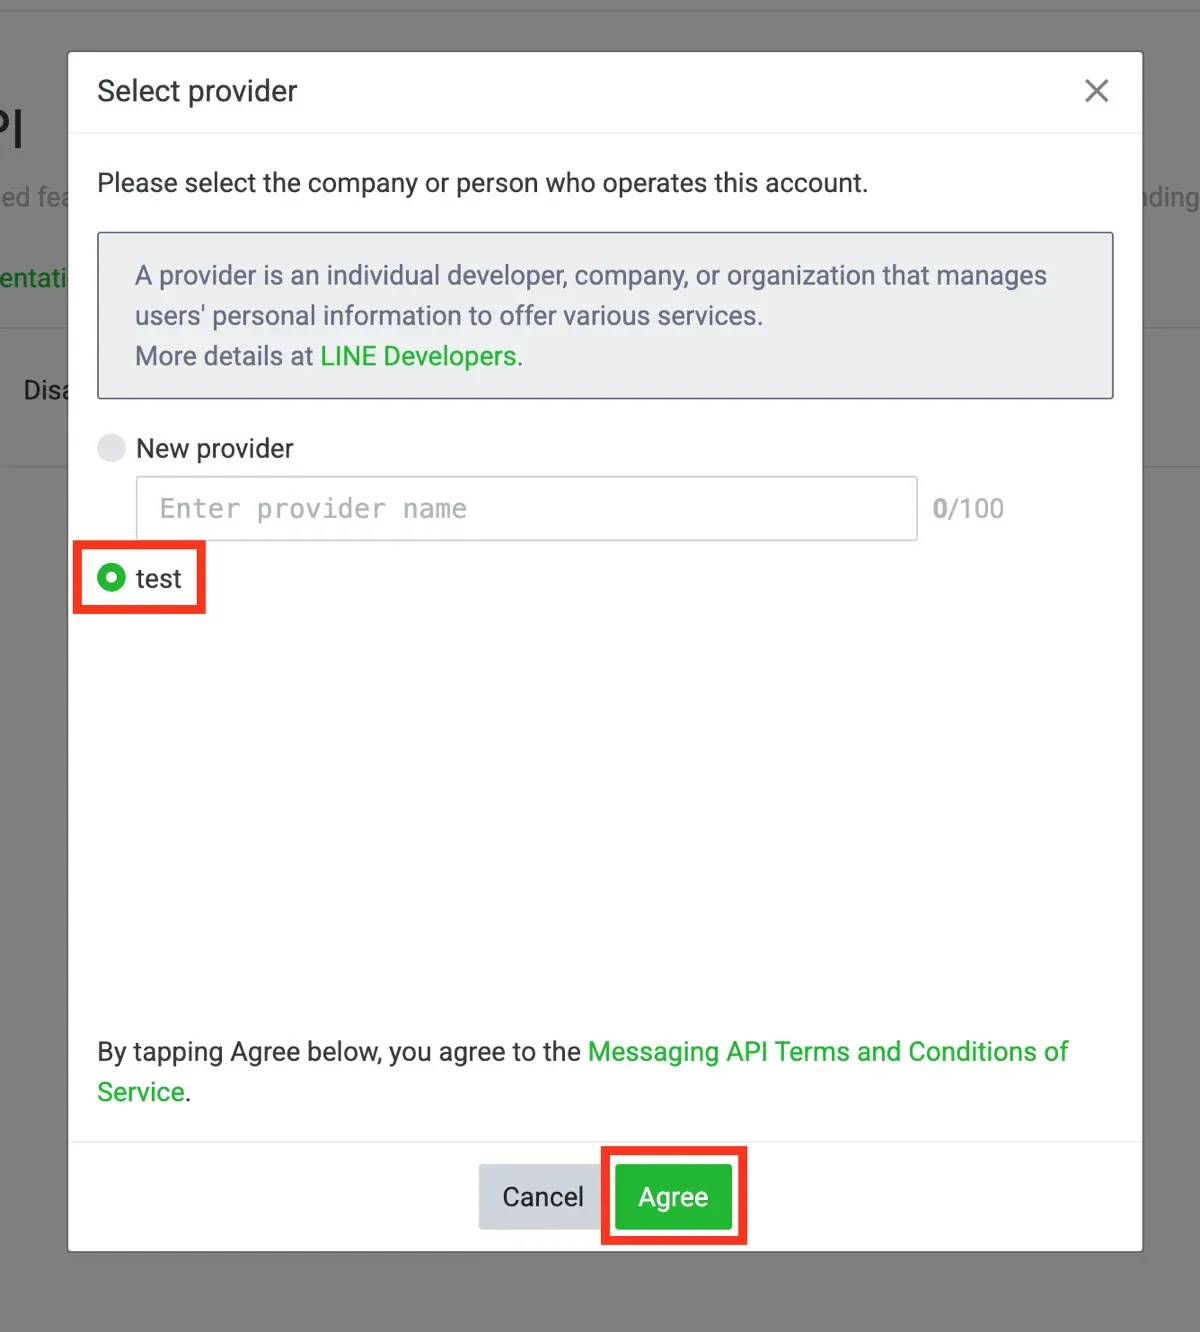
14. Select Provider
Section titled “14. Select Provider”Select the provider you created and click Agree.
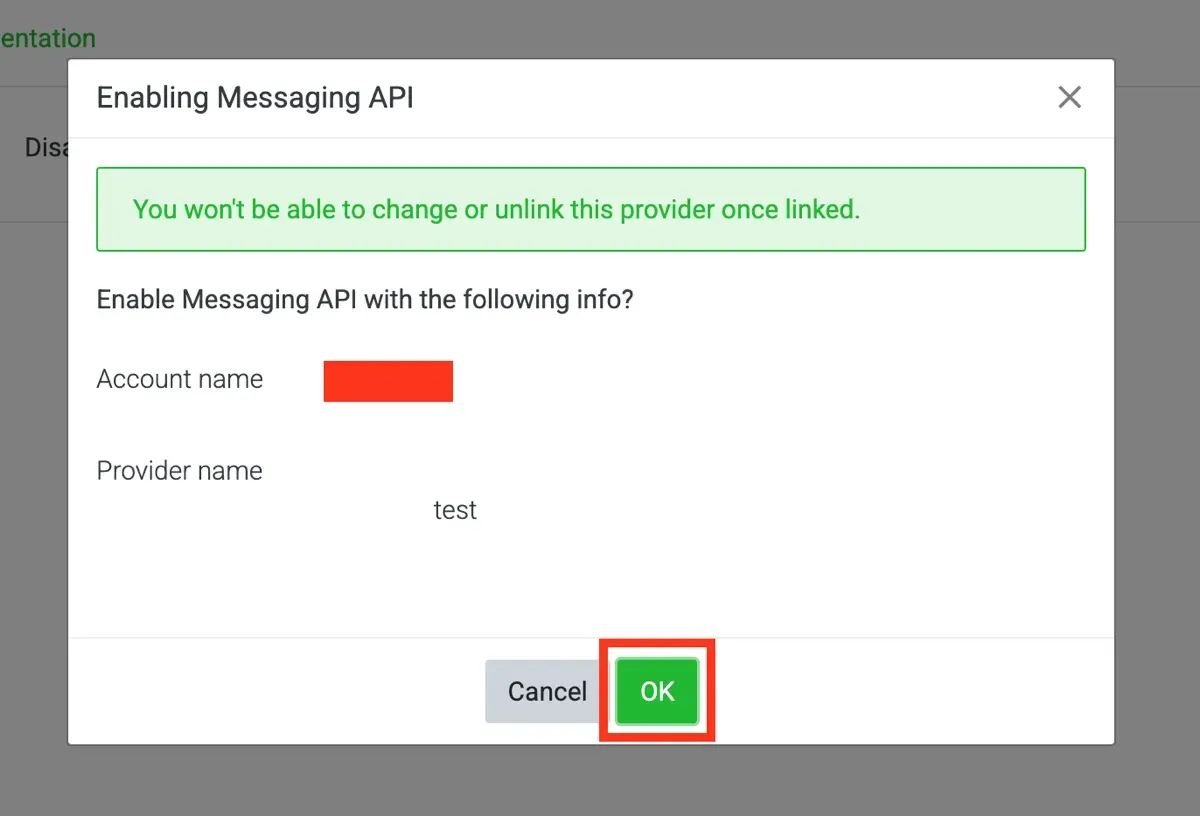
15. Enabling Messaging API
Section titled “15. Enabling Messaging API”Check the Account Name and Provider Name, then click OK.
16. Enabled Messaging API
Section titled “16. Enabled Messaging API”The Messaging API has now been successfully enabled.
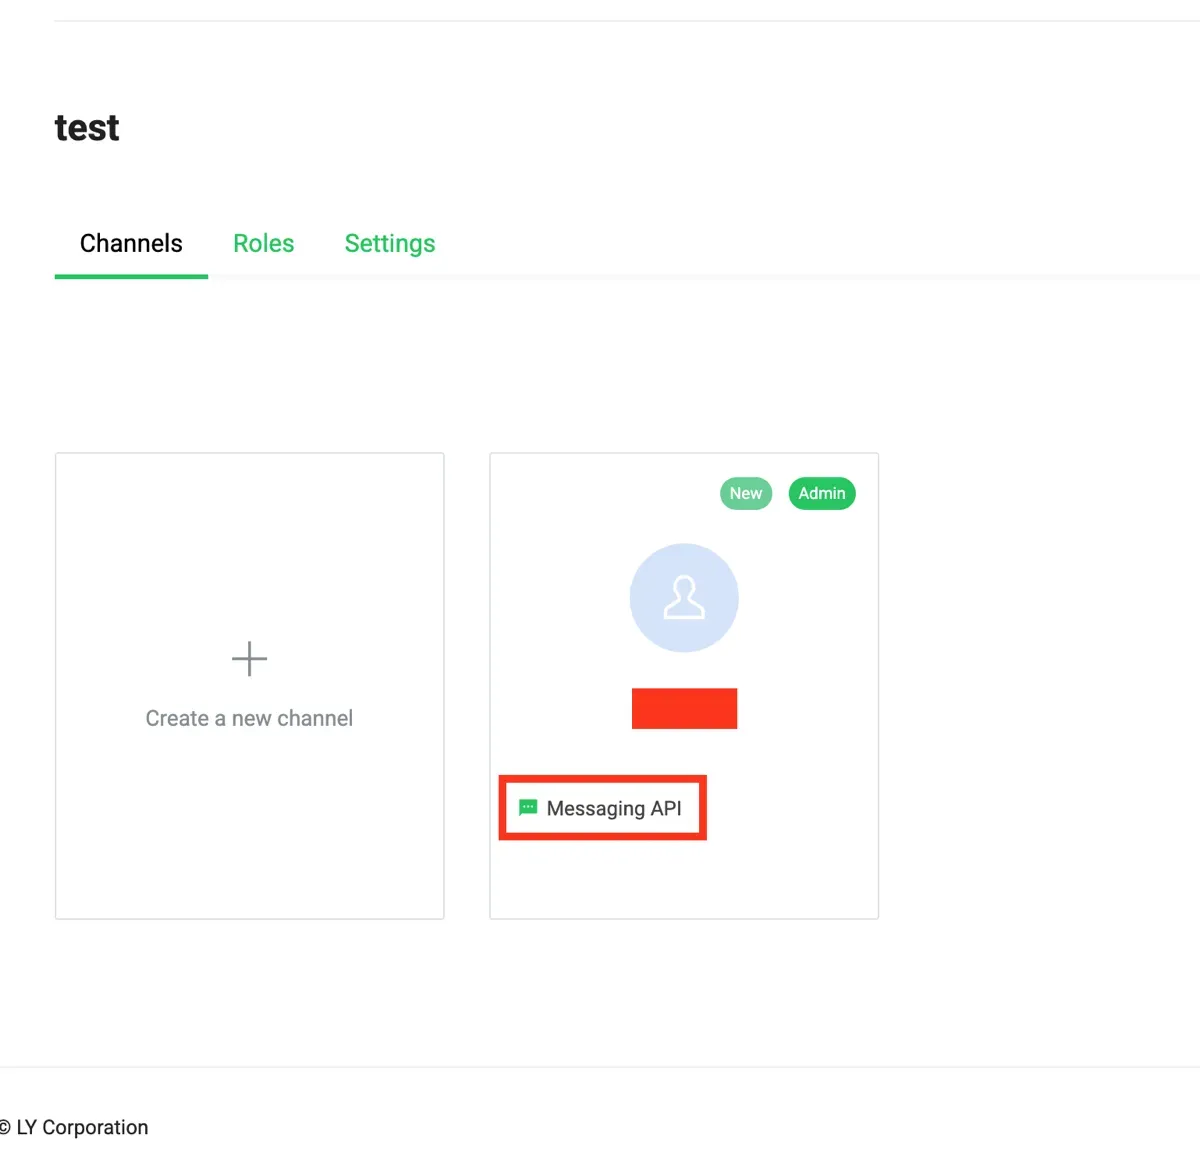
17. Channels Messaging API
Section titled “17. Channels Messaging API”Go to Channels, then navigate to Messaging API as shown in the image.
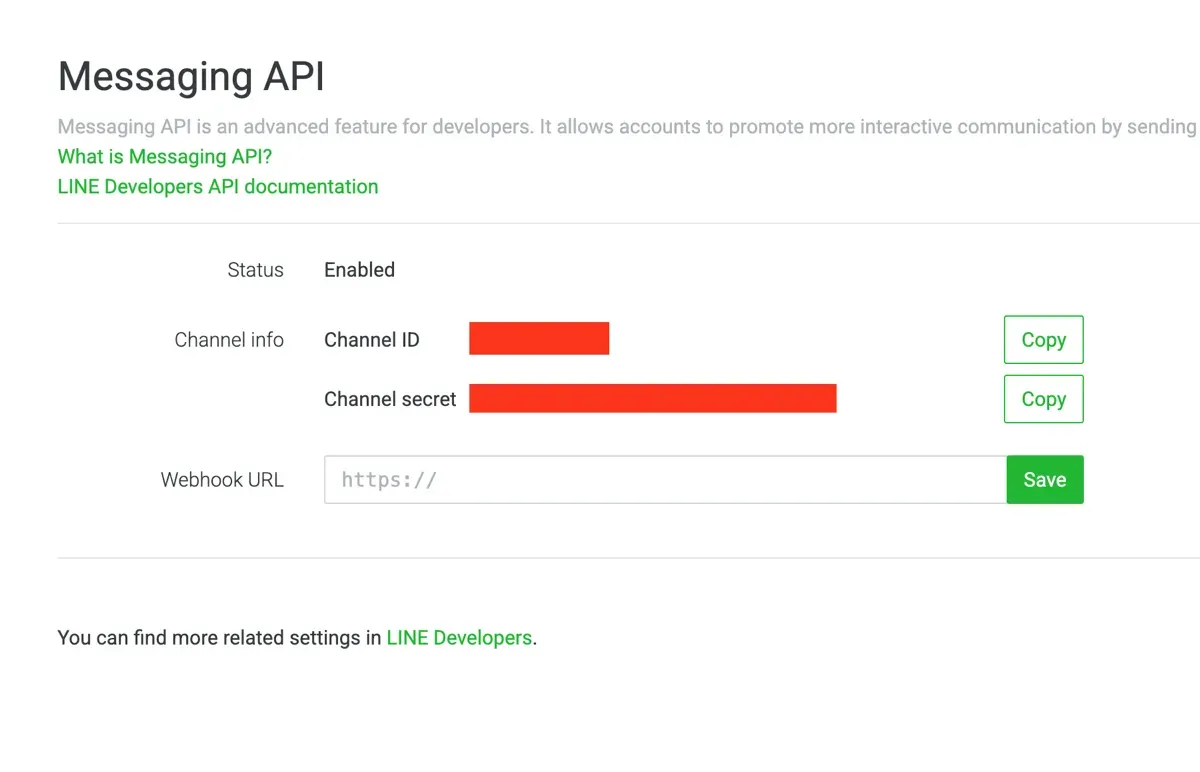
18. Messaging API Settings
Section titled “18. Messaging API Settings”Navigate to Messaging API settings.
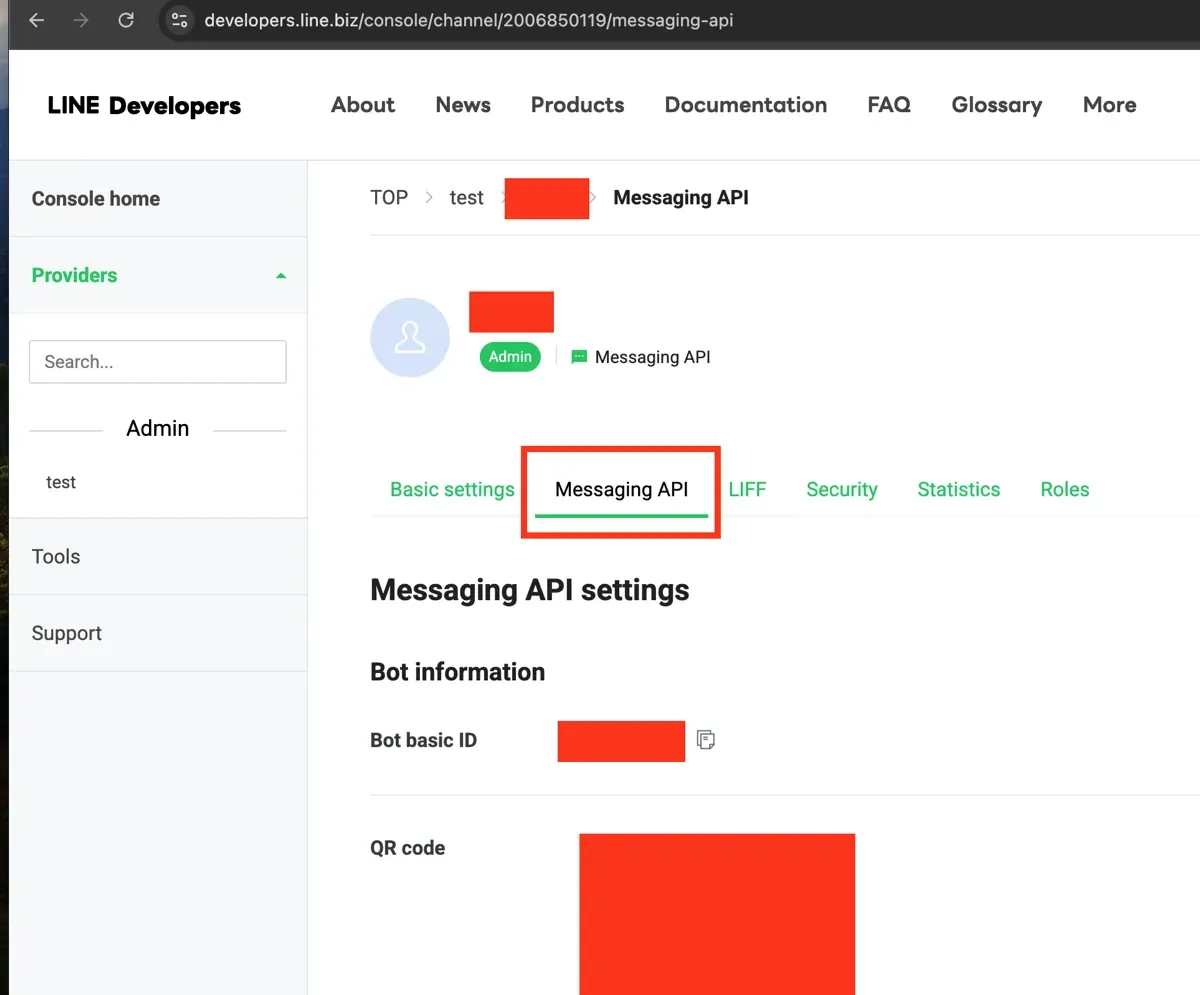
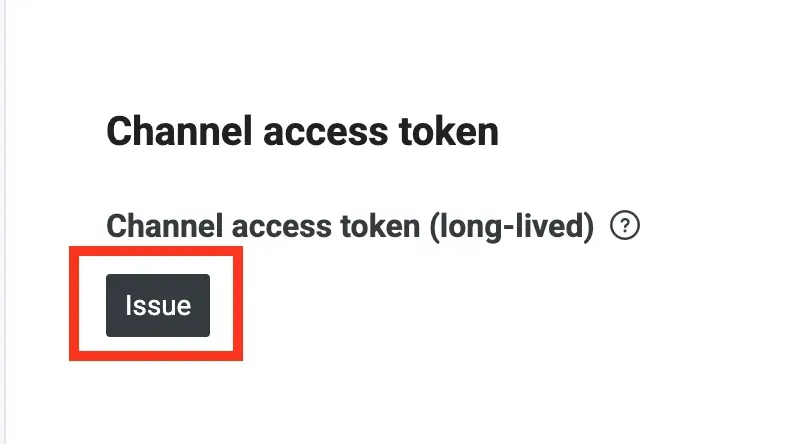
19. Access Token
Section titled “19. Access Token”Scroll down to the Channel access token section and click Issue.
At this step, you will obtain the Access Token, which you will need in Step 1.
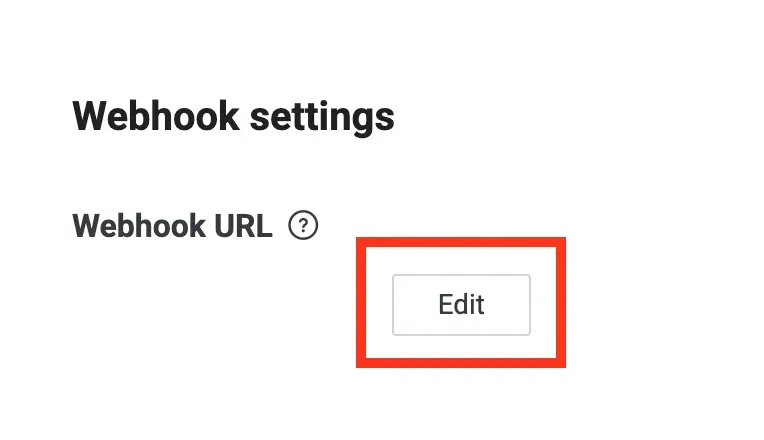
20. Webhook Settings
Section titled “20. Webhook Settings”Scroll down to the Webhook settings section and click Edit.
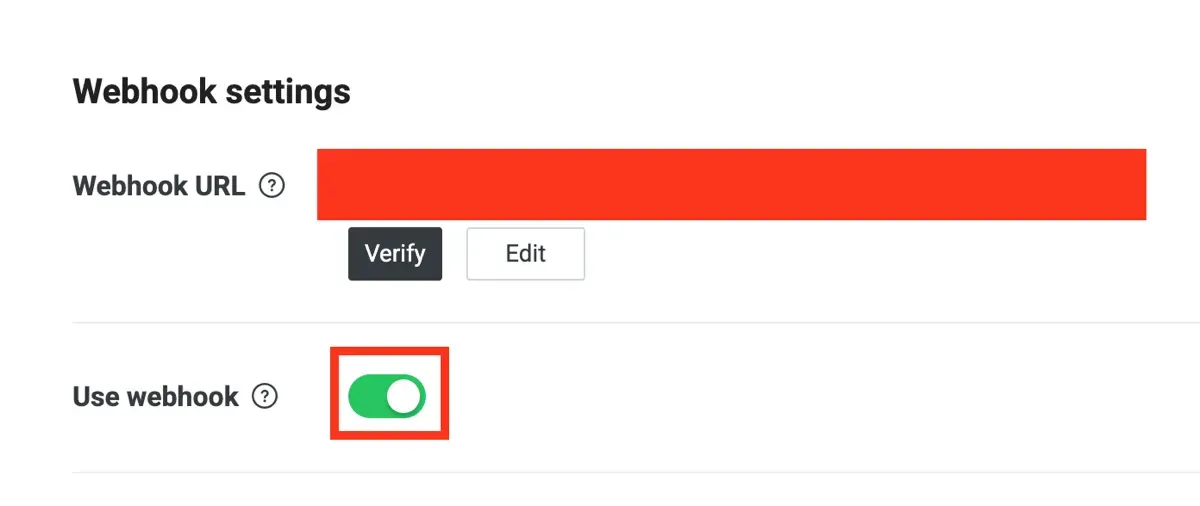
21. Use Webhook
Section titled “21. Use Webhook”Enable Webhook by switching the toggle to green, and obtain the Webhook URL.
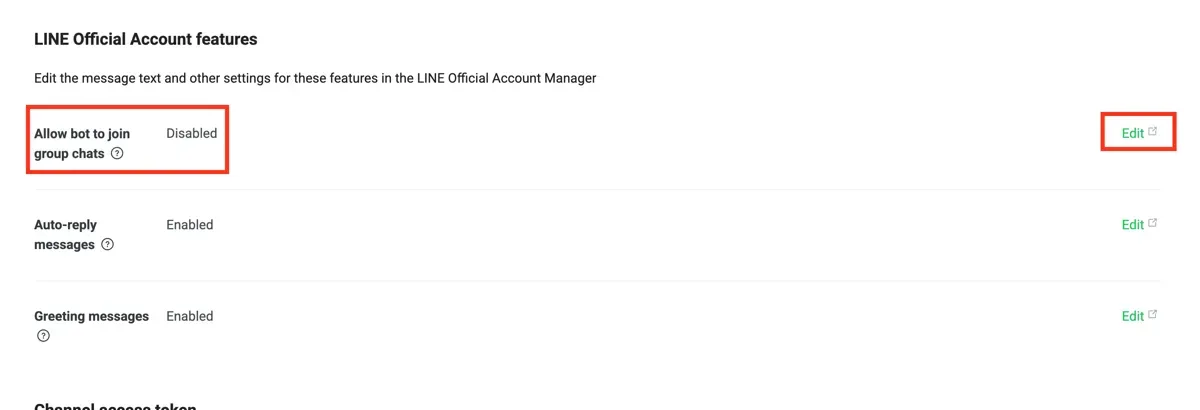
22. Allow Bot to Join Group Chats
Section titled “22. Allow Bot to Join Group Chats”Scroll down to Allow bot to join group chats and click Edit.
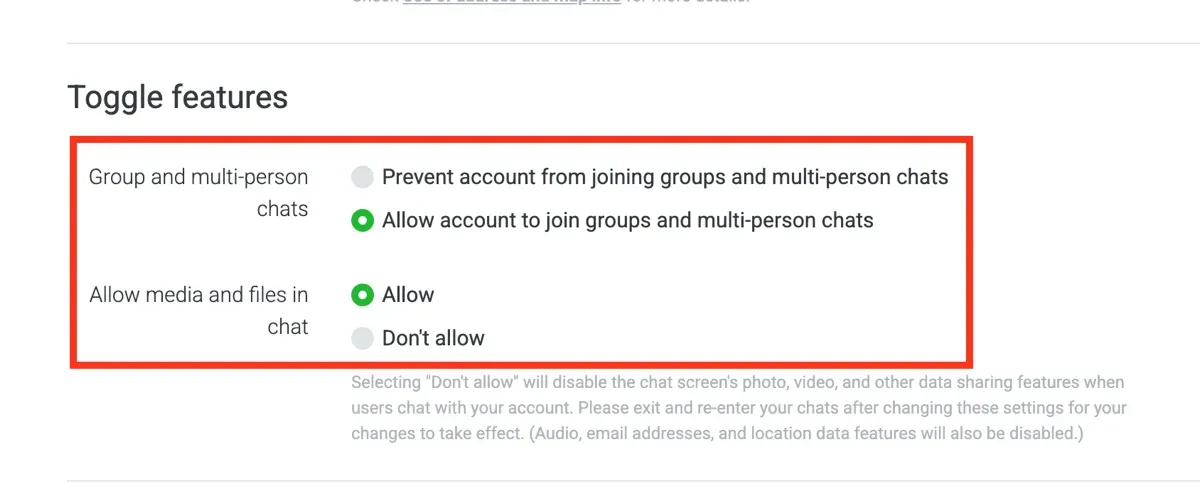
23. Toggle Features
Section titled “23. Toggle Features”Select Allow as shown in the image.
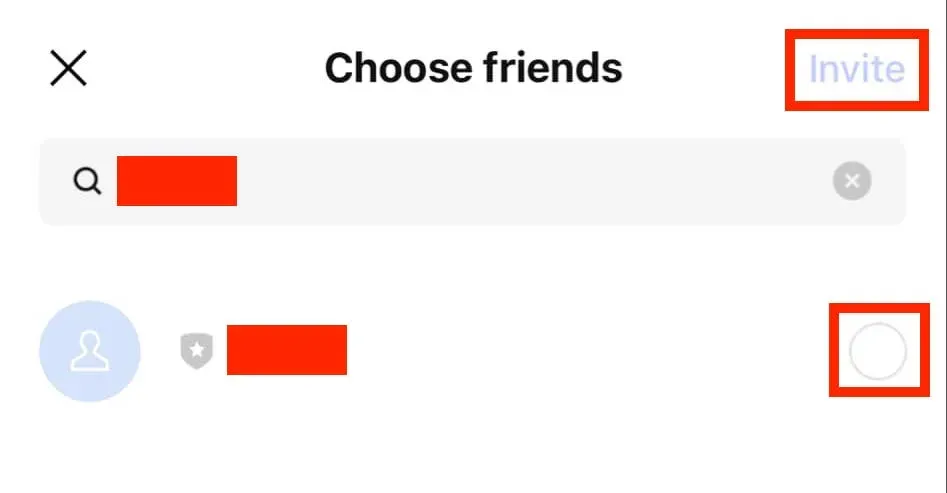
24. LINE Group
Section titled “24. LINE Group”Enter the LINE Group where you want to receive notifications.
If the group does not exist, create a new group and invite the LINE Official Account you created.
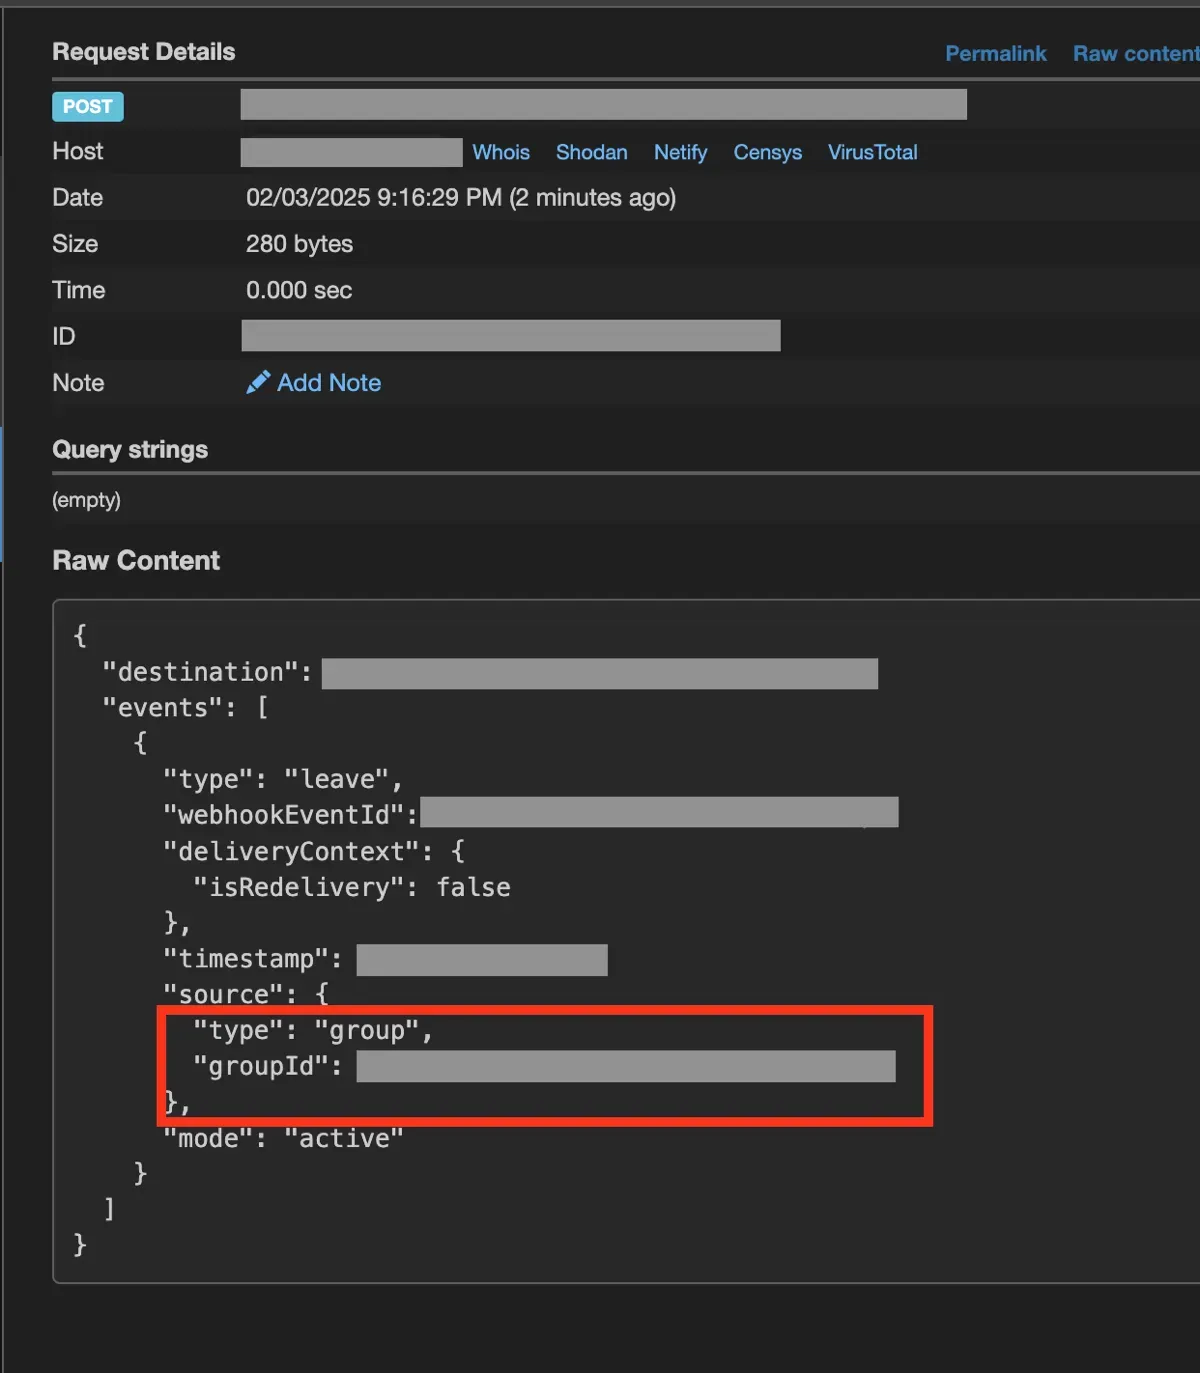
25. Group ID
Section titled “25. Group ID”After inviting the LINE Official Account to the group, go to the Webhook URL from Step 21.
At this step, you will obtain the Group ID, which you will need in Step 1.